If you're offering WordPress development services you must have a WordPress staging site for each client site/project you work on. It's just the professional way to handle things.
A WordPress staging site is a private copy/clone of a live WordPress site where developers and designers can safely test changes, updates, or new features without affecting the live site. It’s typically hosted on a separate subdomain (like staging.yoursite.com) or in a folder [staging.wpsandbox.net/cool-client/site1], and is only accessible to you or your team and is password protected.
For example, if you're redesigning a client’s homepage or updating plugins, you would first make those changes on the staging WordPress site. Once everything is tested and approved, you can push the changes to the live site with confidence and with less risk of breaking things.
This post is for:
- Freelance WordPress developers
- Web design agencies
- Small teams building and maintaining WordPress websites for clients
Here are several ways tips how to keep your self-hosted WordPress stagings sites up to date.
1.Manual Update via WP Admin
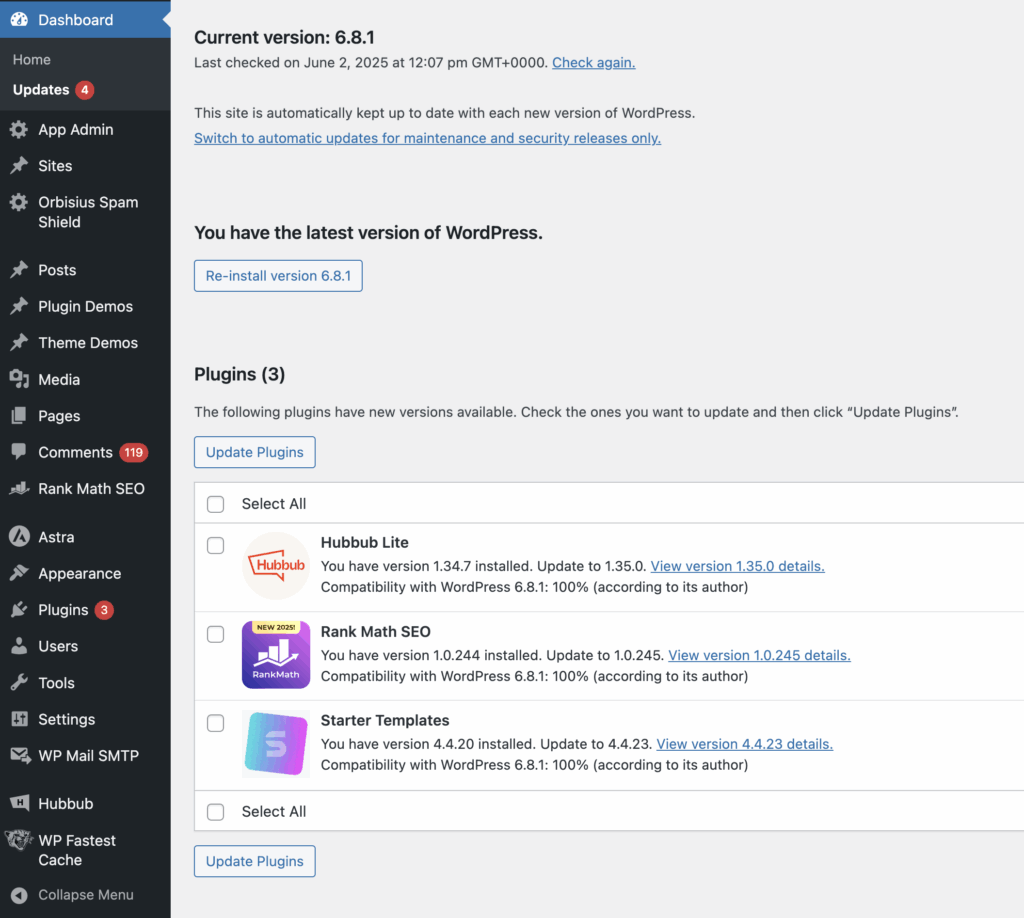
The easiest approach is to log into each staging WordPress site's admin area [as WP admin] and perform the updates manually through the WordPress Dashboard. You can go to Dashboard → Updates [example.com/wp-admin/update-core.php], then click to update WordPress plugins, and themes individually or in bulk, and finally, WordPress (core) itself. You want to ensure that the plugins and themes have been updated and tested with the version you want to update to.
While this gives you control and visibility over what’s being updated, it quickly becomes a burden if you're managing multiple demo or staging sites. It's repetitive, time-consuming, and prone to being forgotten—especially when updates are released late at night, on weekends, or during holidays.
Relying solely on manual updates also increases the risk that potential customers see outdated features, broken layouts, or security warnings when visiting your demo. That’s why automated solutions (like this script or external management tools) are a far better option for maintaining polished, up-to-date demo environments.
2. Automate WordPress Updates with WP-CLI
If you know bash or have a developer friend they can help you automate the updates.
In this case we are using WP-CLI to automate updates like a pro:
We'll use the same update process as in option 1 but via command line.
Let's update all WordPress themes.
wp theme update --all.. and then WordPress plugins
wp plugin update --allif you have WooCommerce installed you need to run this, so WooCommerce updates its database and doesn't prompt you.
wp wc updateif you are using Elementor you need to run this, so it updates its database and doesn't prompt you.
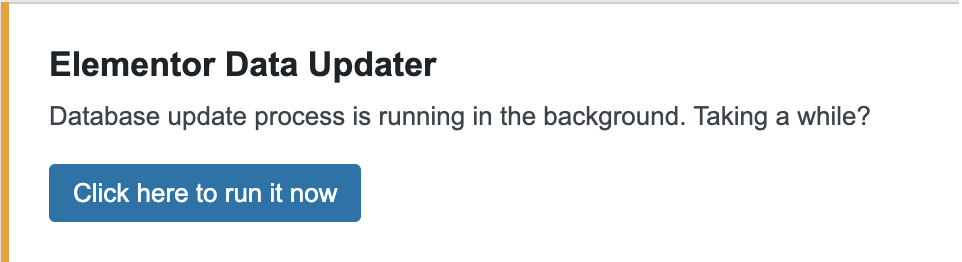

wp elementor update db
Now we can proceed to update WordPress itself.
wp core update
wp core update-db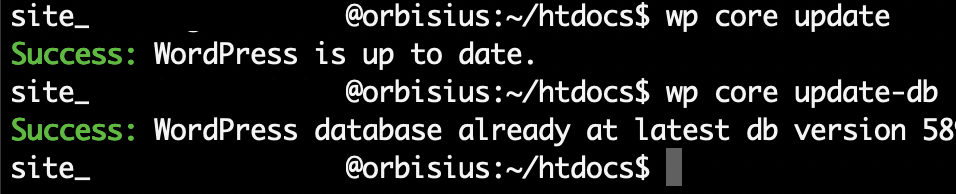
To be able to run these commands you need to be comfortable with command line tools.
They must be run within the WordPress folder where the demo site is or via a cron job on your demo site.
3. Automatic update using orbisius/wp_updater project on github.
This php script written by the Orbisius team which is the parent company behind WPSandbox.
This script allows you to update one more staging WordPress sites. It will start from one folder and try to find all WordPress installations [within a certain limit] and start updating them one by one.
Open this https://github.com/orbisius/wp_updater repository and download 000_wp_updater.php script and upload it where your WordPress staging is or in the parent folder. We highly recommend you edit the file and set the code which allows you to start the update process.
The script can be run from the command line or via the web.
Note: If your hosting provider has disabled php functions such as shell_exec(), exec() this script won't work as it relies on running wp-cli program
How to use it:
- Backup your sites
- Upload 000_wp_updater.php file using an FTP program or using your hosting control panel's File Manager.
- Edit the file and update the $code variable to something secure.
- Place it in the WordPress root directory where wp-config.php is or in another folder that's still web accessible
- Then access it in your browser and pass the code you entered.
https://yourdemo.com/000_wp_updater.php?go=SomeSmartCode - .. or if you're comfortable with cli, connect via ssh and run the script
php 000_wp_updater.php
If you are running WooCommerce and Elementor plugins the script will also run a command to update their update code as well, so you are not prompted to update db anymore.
Important: This script is for demo use only — it doesn’t back up your site. A bad plugin or theme update could/will break things.Provided AS-IS!